Apollo User Interface (UI) Specification
The Apollo User Interface (UI) provides a mechanism for the end user to interact with all applications running on the Apollo terminal. The UI consists of three main components:
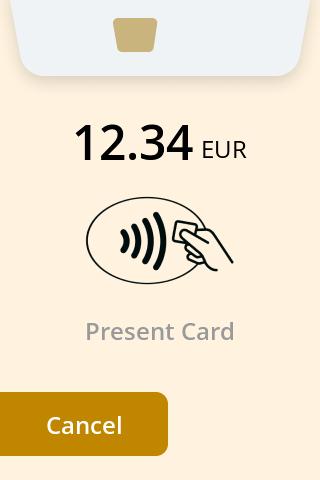
Payment Interface : The interface controlled by the payment application on the terminal. This interface can only be customized through theme settings and is otherwise fixed as it forms part of the formally certified portion of the Payment Terminal’s core functions.
Application Interface : The interface that may be controlled by the external application via Direct UI Control. Various screen types are available in order to implement custom user journeys.
Maintenance Interface : The interface in control of the terminal. It cannot be configured or altered, it is intended for local access to terminal status information and a number of specific settings relating to connectivity. Use of the Maintenance Interface should be considered rare as most terminal configuration and maintenance actions are instead performed remotely by the MyPayter Terminal Management System.
Theme
Customizing the theme of the UI allows the integrator to create a custom look and feel across the UI, including the payment application.
The terminal is preloaded with 3 default themes: Default, Light and Dark.
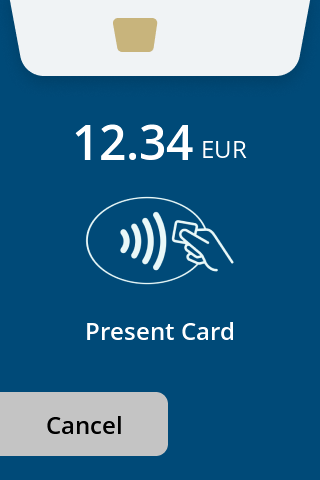
Theme Default
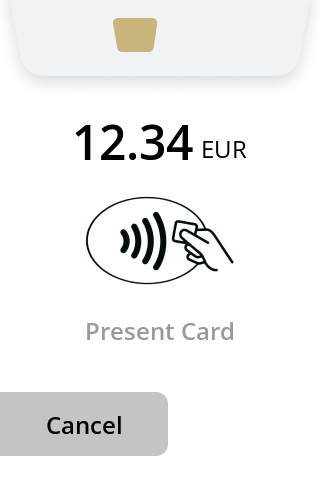
Theme Light
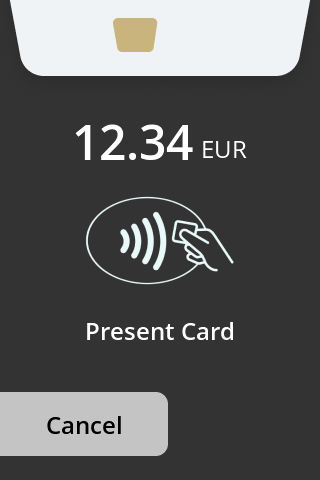
Theme Dark
Custom themes can be created with a custom theme configuration. Custom themes provide the means to change various aspects of the UI such as background colour, button colour and font / icon colour.
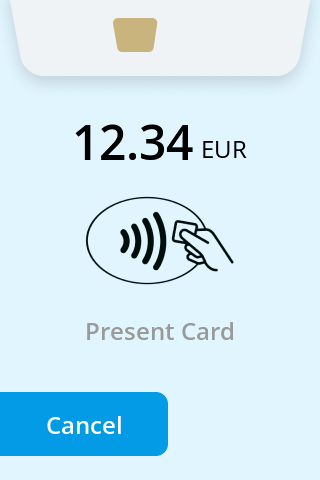
Custom Theme Example 1
Custom Theme Example 2
The theme section of this document details which of the elements can be configured in the theme.
Direct UI Control
The Apollo UI is controlled by sending a map of parameters to a given user interface screen type. Each screen type has its own list of properties that can be controlled dynamically and are also affected by the loaded theme.
Control of the UI can be performed via various interfaces, for initial exploration of the possibilities using the Payter Cloud Payment Service (CPS) is the most straightforward. The same screens can also be displayed via other interfaces that support UI control such as Payter Session Protocol (PSP) . In addition the property maps used in CPS can be directly mapped on the PSP protocol. For example: for CPS, a REST call is performed on the UI endpoint with the map in the JSON request body, while using PSP the map is encoded in the UI request message as a null terminated key-value map.
Interactive elements on the UI, such as buttons, will trigger a UI event. This will generate an event message on the control interface. For example in CPS a webhook will be called that was provided as part of the original UI request or for PSP the PSP UI Event Message.
Getting Started via Cloud Payment Service
An API key is required for all interaction with CPS. API keys for test and production environments are available from integration@payter.nl.
All examples in this document are cURL requests using Bash shell syntax. In order to use the examples effectively, the cURL tool is required using a Bash (or equivalent) shell.
Windows users may need to install a Windows version of bash and cURL depending on
To get started set up the environment that contains the API Key and the serial number of the test terminal:
export CPS_API_KEY=<Api Key>
export CPS_UI_URL=https://cps-test.mypayter.com/terminals/<Serial Number>/ui
Next display a basic UI:
curl -X 'POST' ${CPS_UI_URL} \
-H 'Authorization: CPS apikey="'${CPS_API_KEY}'"' \
-H 'Content-Type: application/json' \
-d '{
"id": "my-info-screen",
"type": "info",
"properties": {
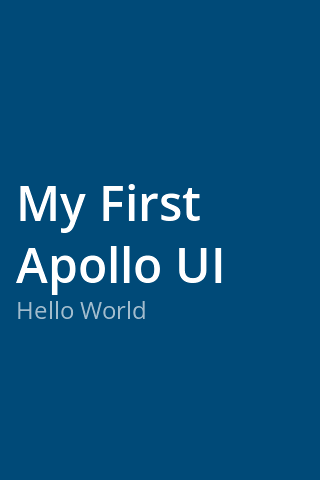
"title": "My First Apollo UI",
"subtitle": "Hello World"
}
}'The request above can be broken down into selection type to be info which is the basic information interface type, while setting title and subtitle.
This terminal should now display a screen as seen in the image below.
UI Event messages are not handled in the examples as this requires an externally accessible REST API for CPS to call. For testing and exploration purposes a third-party tool such as Pipedream can be used to set up a simple webhook. This will be capable of receiving and printing the webhook calls.